Claws
How To Clip Cat Nails Safely
Trimming your cat’s claws is an important part of the whole cat grooming procedure.
But it is something that a lot of owners overlook.
If your cat goes outside regularly, it will be less of a problem as the nails will be worn down naturally, but it is still worth checking that they have not become too long.
The first signs that your cats nails have become over long is that your cat will start to get caught in carpets and soft furnishings.
If this happens and the claws are left unclipped than your cat may end up pulling their claws out trying to escape from something they have become caught in.
Clipping A Cats Nails Is Easy
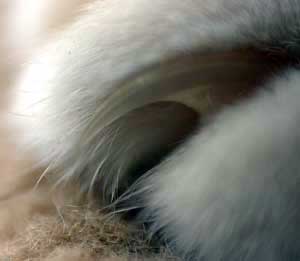
I used to be one of those people who would never clip my cat’s claws myself. I would always take them to the vets and pay money, for them to take two minutes to clip the nails. I always felt so silly afterwards as well as much lighter in the purse.
Now however I have learnt to clip the nails myself and believe me it’s not as daunting as I thought.
The trick is to get your cat used to you holding their paws, this way they do not try to pull away or become fearful when you try to trim the nails.
Get used to touching their paws during a normal stroking session and make it a normal part of your interaction with your cat.
Six Easy Steps For Clipping Cat Nails
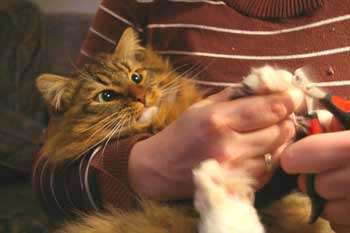
Here is an instructional video to help you clip safely.
One pair of good sharp nail clippers (blunt ones will crush the nail)
Some blood stopping powder in case you nick the quick (special powders are available at your vets or a good pet supplies store)
A nail file
A large towel if your cat needs retraining
The Anatomy of A Cat Claw
Basically when you are trimming your cats nails, what you are doing is just trimming away the excess point.
Cats need their claws for everyday living and so it is important to make sure that you do not damage the nail in the clipping process.
So identifying only the excess nail and learning to avoid the nerves and blood vessels in the nail is essential to a quick and pain free process.
Inside every nail is a blood vessel and a nerve which runs along the side of it. In a light coloured nail it is easy to identify as the pink area inside the nail. This is known as the quick.
All you need to do is make sure that you clip just the top of the nail, away from the quick. A little at a time is the safest option; remember all you are doing is removing the sharp point.
Cat nails will re-grow and become sharp again in a few days, especially if they are kept inside all the time. So check their nails at least once a week, you may even have to trim the nails a couple of times a week.


